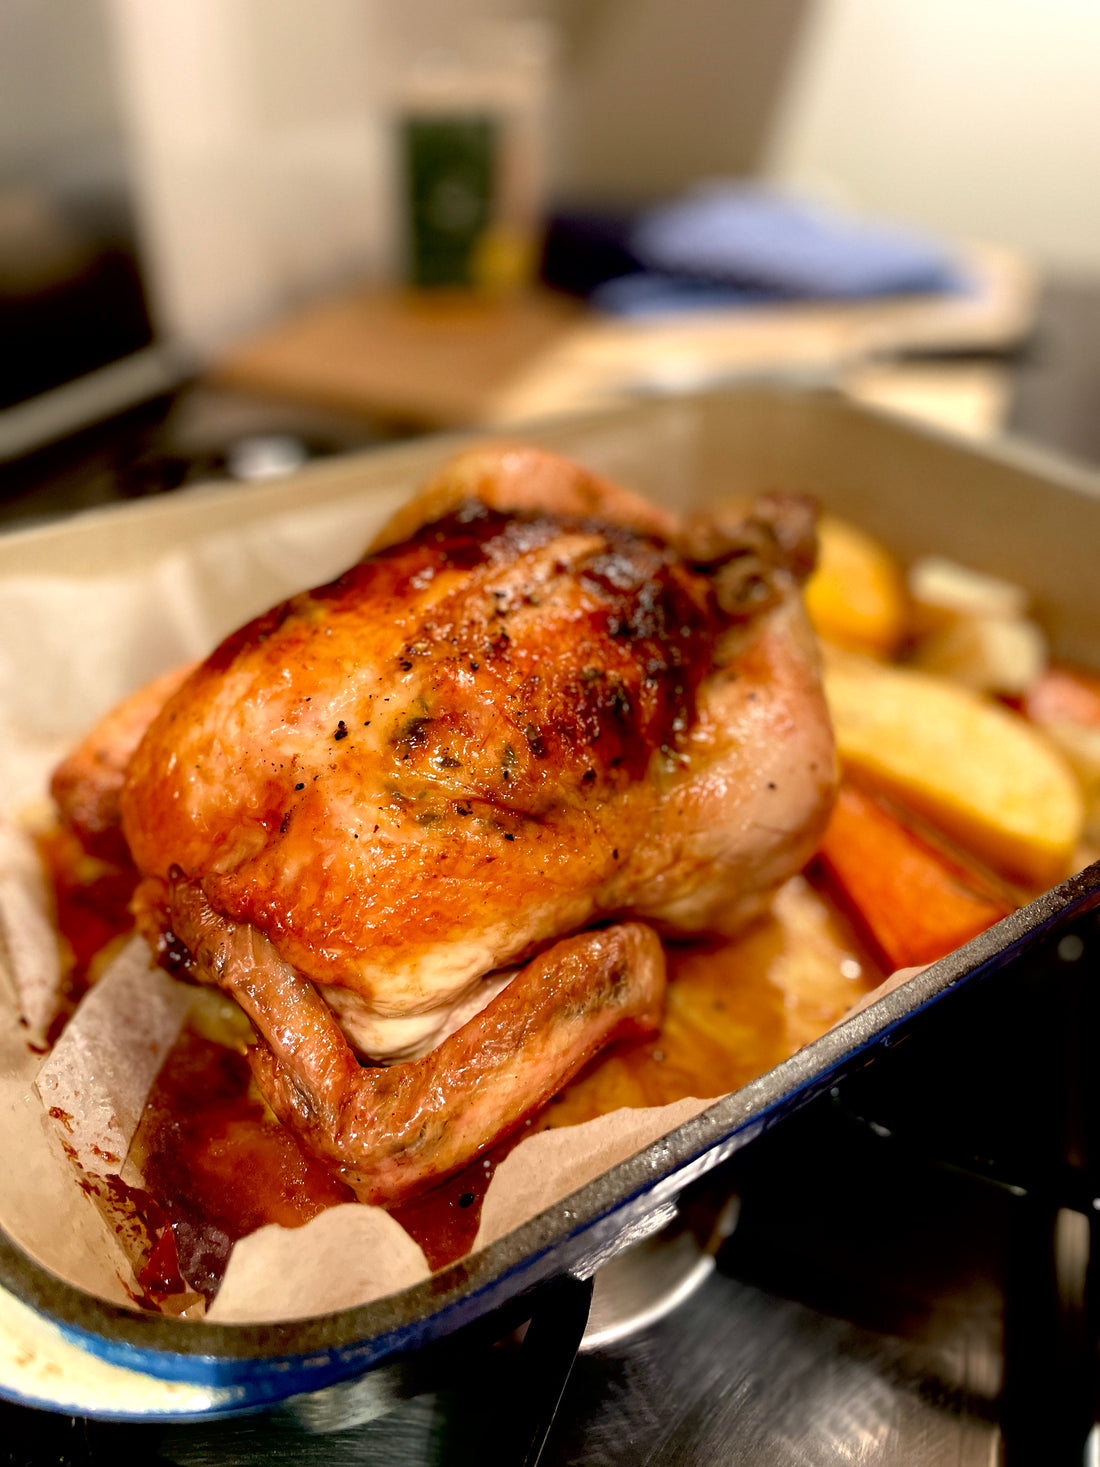
If you're looking to elevate your Sunday roast or impress guests with a truly flavourful and aromatic dish, our Lemon Dust-Infused Butter Roast Chicken is the perfect recipe to try. This dish combines the zesty brightness of lemon dust with the richness of herb-infused butter, creating a tender, moist chicken with crispy, golden skin. Whether you're a seasoned cook or just venturing into the world of roasting, this step-by-step guide will ensure your chicken turns out perfectly every time. Paired with oven-roasted vegetables, this meal is a celebration of fresh, vibrant flavors that will delight your senses from the first bite to the last. Ready to embark on a culinary adventure? Let’s get started!
Ingredients:
1 whole chicken (we used a 1.5 kg free range)
2 tablespoons olive oil
2 teaspoons lemon dust
2 cloves crushed garlic
1 finely diced shallot
2 tablespoons softened butter (leave out at room temperature 30 minutes before use)
2 tablespoons fresh or dried herbs (we used fresh thyme for this recipe)
Salt and Pepper for seasoning in your butter and on the skin
Instructions:
You will be making the butter compound ahead of time, 10 minutes to prepare and a few hours to become firm in the freezer.
Roasting your chicken (of this size) and resting is around 2 hrs (see notes on temperature later).
Preparing your chicken for roasting will take 10 minutes.
Serves 4-5.
Step 1 Lemon Dust Herb Butter Compound
In a small bowl add: the softened butter, lemon dust, thyme, garlic, shallot, a few cracks of salt and pepper and gently combine
Transfer your butter compound onto the middle of a piece of baking paper, fold the ends over and mould into a log shape.
Twist the ends of your baking paper (think a Christmas cracker) and place in the freezer until firm.
Step 2 Turn On The Heat
Preheat your oven to 200°C (fan-forced) or 220°C (conventional).
Grab a non-stick roasting rack and a large roasting pan.
We recommend using a roasting rack to enable even slow and even air circulation around your chicken, using a large roasting pan, ensures you don’t over crowd and steam either your meat or vegetables.
Step 3 Preparing Your Chicken
You want to take your chicken out of the fridge about 15 minutes before you prepare.
Place in a cool part of the kitchen in a bowl or on a plate.
Give your chicken a quick pat dry with paper towel. (This helps the skin to crisp up).
Place the chicken breast-side up on your roasting pan.
Gently work your fingers in-between the breast and the skin of the chicken to create a thin gap (be careful not to tear the skin).
Take your firm butter compound and slice into thin rounds. You’ll slide these rounds into the gaps on either chicken breast that you have just created.
This step will make your chicken exceptionally tender, moist and infused with flavour.
Step 4 Finishing Touches For Your Chicken
Gently rub the outside of the chicken with the olive oil and a few cracks of salt and pepper.
We also like to tuck fresh herbs and a few dehydrated lemon wheels inside the cavity of the chicken for extra flavour without excess liquid.
Step 5 When Is Your Chicken Ready?
Suggested cooking times for chickens vary by weight and oven type. We prefer low and slow and used fan forced.
You must make sure your external and internal temperature of the chicken reaches no less than 75°C (that includes wings, legs and any stuffing) to be eaten safely.
For this recipe we roasted in the oven for 1.5 hours and the skin had turned golden-brown.
Let your chicken rest for 10 minutes before carving (create an alfoil tent to retain heat).
Enjoy the herby citrusy aroma and burst of flavour in every bite!
We paired this perfect chicken with oven roasted veggies tossed with a crack of salt, left over thyme and a sprinkle of lemon dust before serving.

